> For the complete documentation index, see [llms.txt](https://docs.letr.ai/kr/llms.txt). Markdown versions of documentation pages are available by appending `.md` to page URLs; this page is available as [Markdown](https://docs.letr.ai/kr/editor/5.md).
# #5 이슈 등록 및 관리
프로젝트 작업 중 작업자는 이슈 등록을 통해서 소유자나 관리자와 커뮤니케이션을 할 수 있습니다.
그리고 등록된 이슈에 대해 소유자 및 관리자는 답변을 작성하여 작업자의 이슈를 해결할 수 있습니다.
## 등록 및 취소
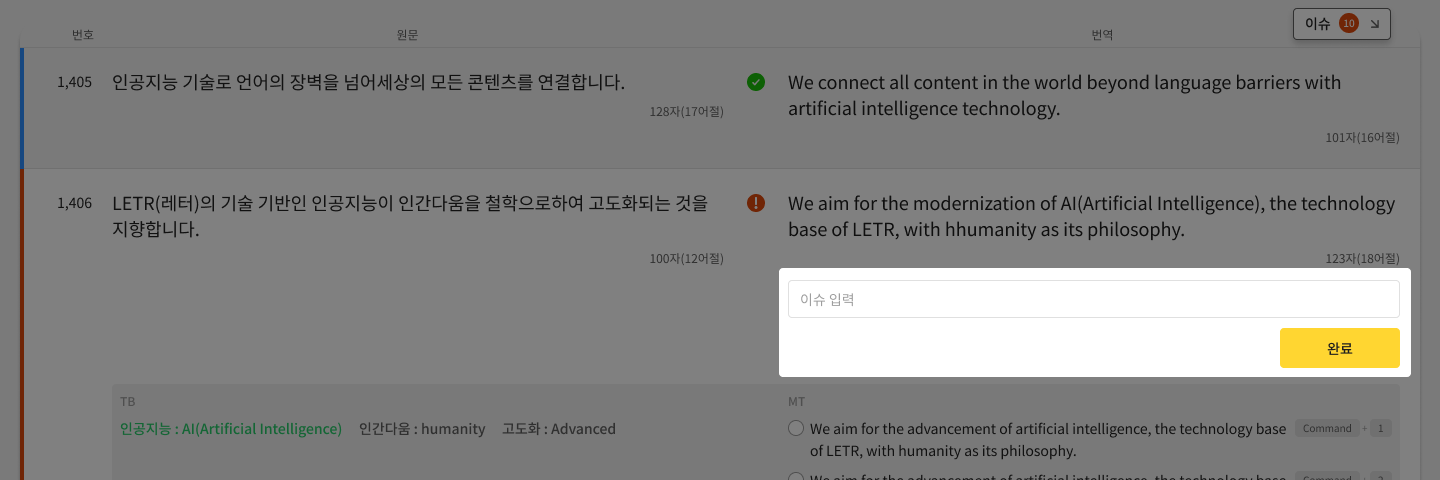
1. 이슈 등록이 필요한 문장 또는 자막을 활성화 합니다.
2. 문장 하단의 '이슈 입력' 영역을 클릭하여 이슈를 입력합니다.
신규 이슈 등록 - 영상 에디터
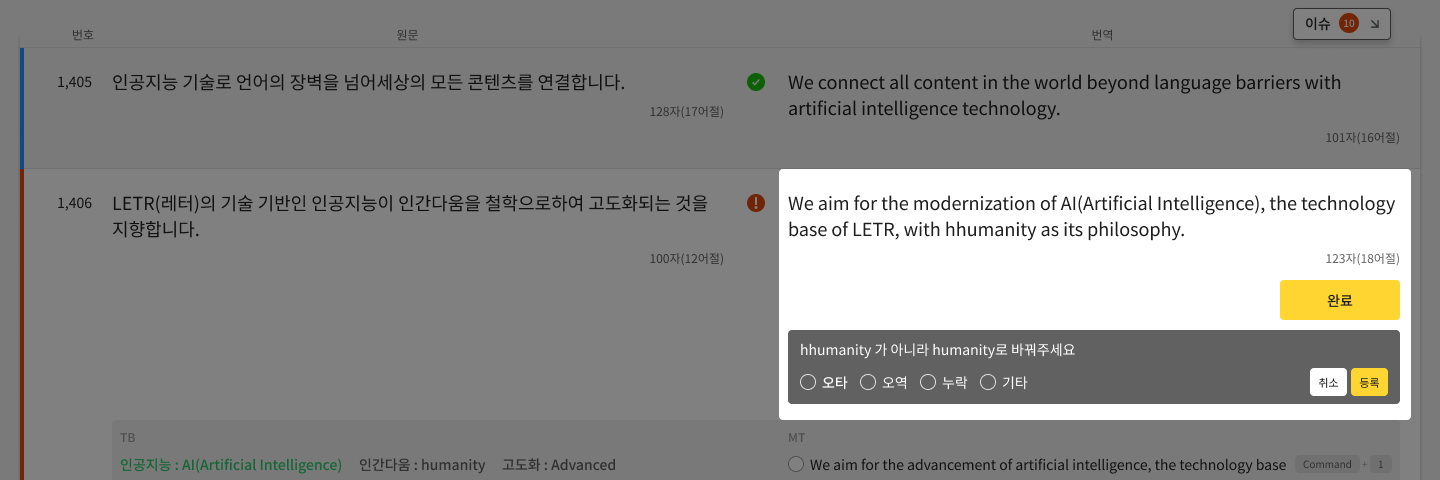
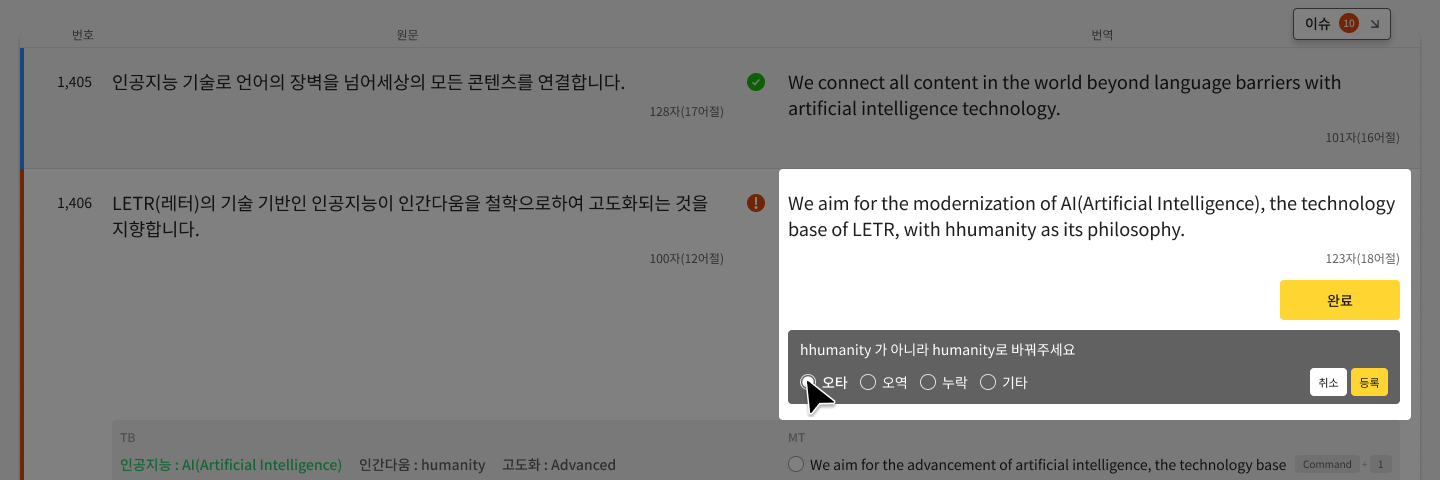
3. 4가지 이슈 유형(오타, 오역, 누락, 기타) 중 1개 유형을 선택합니다.
이슈 입력 - 입력창 활성화
4. '등록' 버튼 또는 '엔터 키'를 눌러 이슈등록을 완료합니다.
5. '취소'버튼을 클릭하여 이슈입력을 취소할 수 있습니다.
{% hint style="info" %}
**이슈는 어디서 확인할 수 있나요?**
에디터 우측 상단의 이슈 영역에 있는 '화살표(↘️)' 버튼을 누르면 이슈를 확인할 수 있습니다.
{% endhint %}
## 확인 및 해결
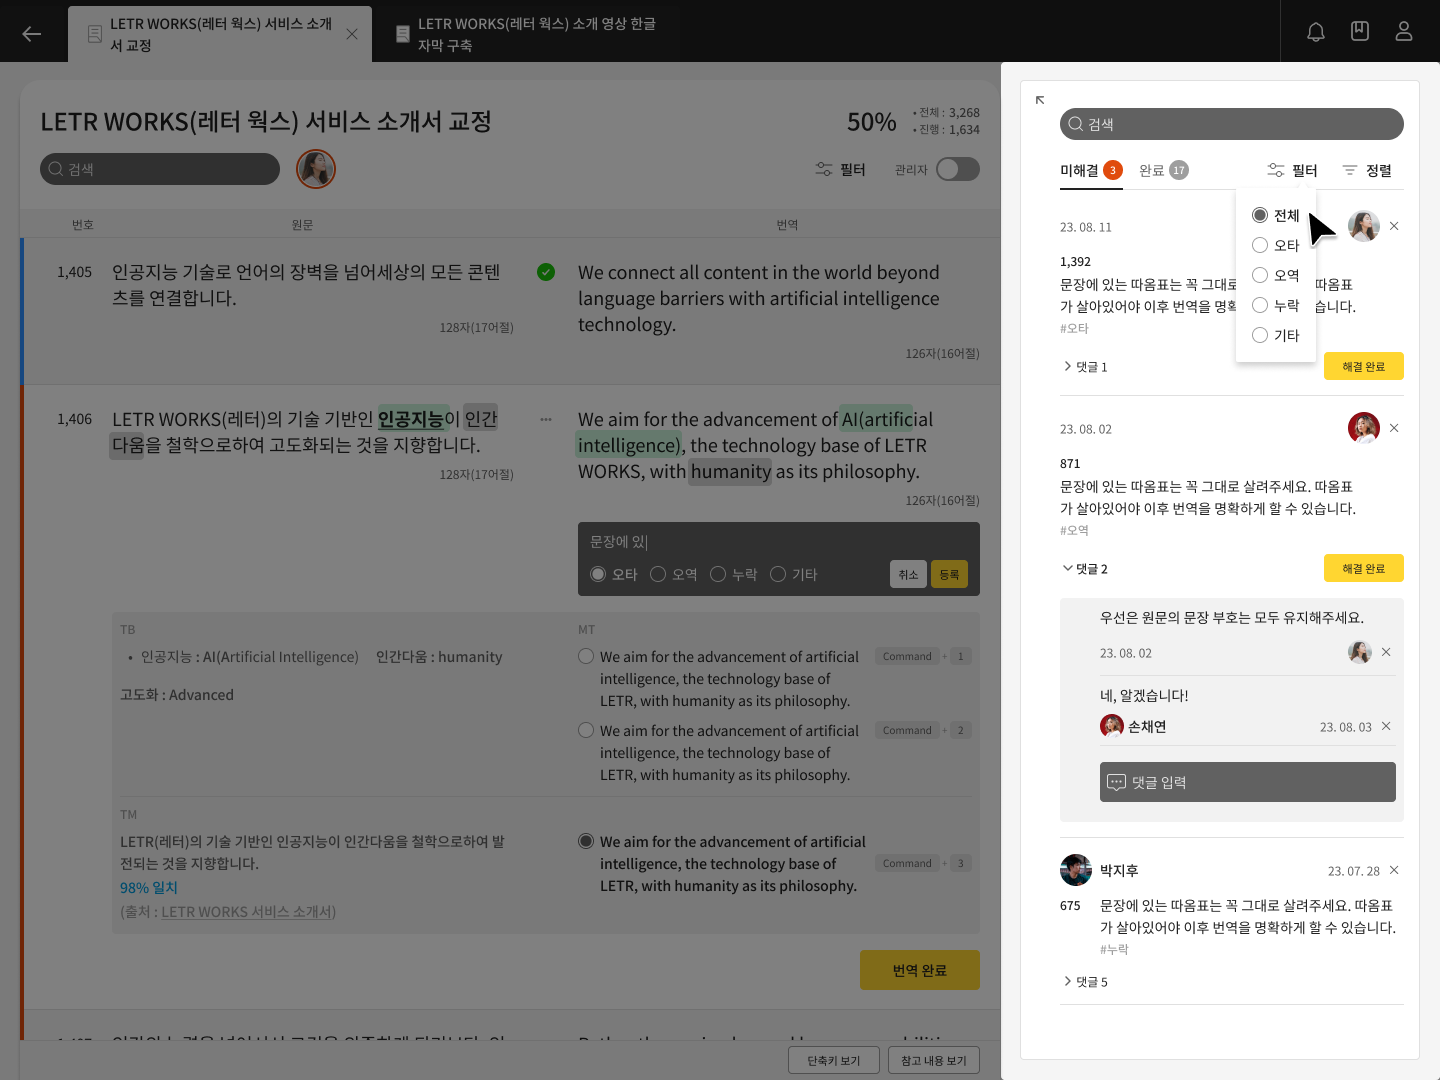
이슈 확인 및 해결
1. 에디터 우측 상단의 이슈 영역에 있는 '화살표(↘️)' 버튼을 눌러 이슈 영역을 활성화 합니다.
2. 각 이슈내용과 하단의 태그형태(예시. #오역) 로 표기된 이슈유형을 함께 확인 합니다.
3. 필터기능을 활용하여 유형별로 이슈를 찾아볼 수 있습니다.
4. 해결 확인한 이슈는 '해결 완료' 버튼을 클릭하여 완료 처리합니다.
{% hint style="info" %}
**이슈 해결 완료는 누구나 할 수 있나요?**
이슈는 프로젝트에 참여하고 있는 모든 사용자가 등록할 수 있지만, 이슈 상태 변경은 프로젝트 관리자만 가능합니다.
{% endhint %}